Analog photography

1. How I got into photography
My story with film photography starts a little before film, with a Canon G7X that I already owned at home. The camera had been damaged from moisture for a long time. The naive me intended to bring it to Japan to fix it, but after arriving here, it magically worked again for a full six months before dying once more. During that short working period, I took more than a thousand pictures with it, and that was how I got into photography.
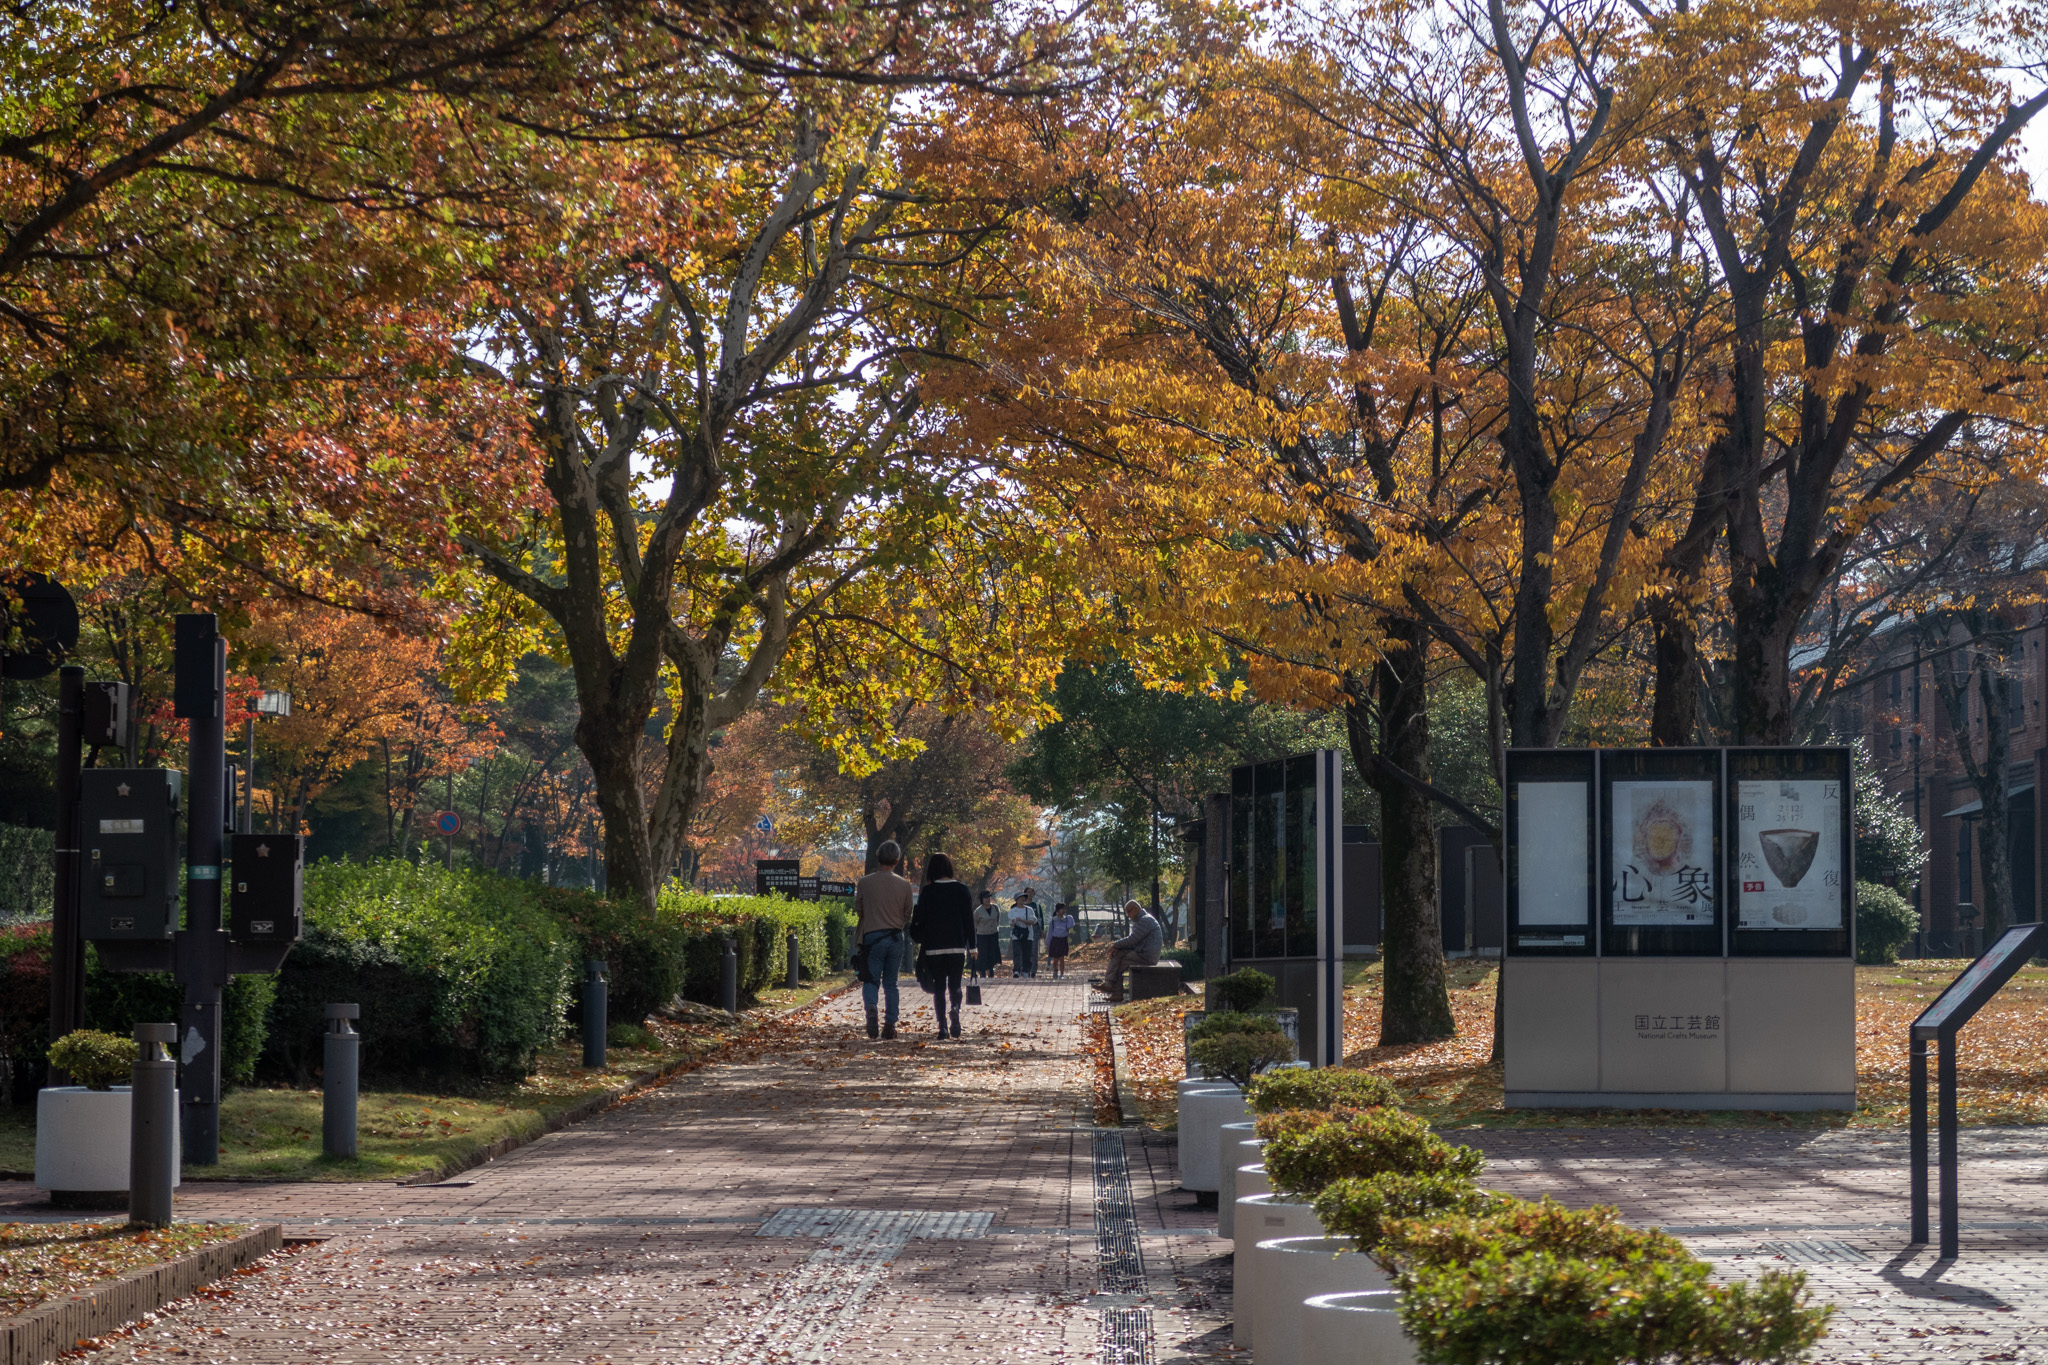
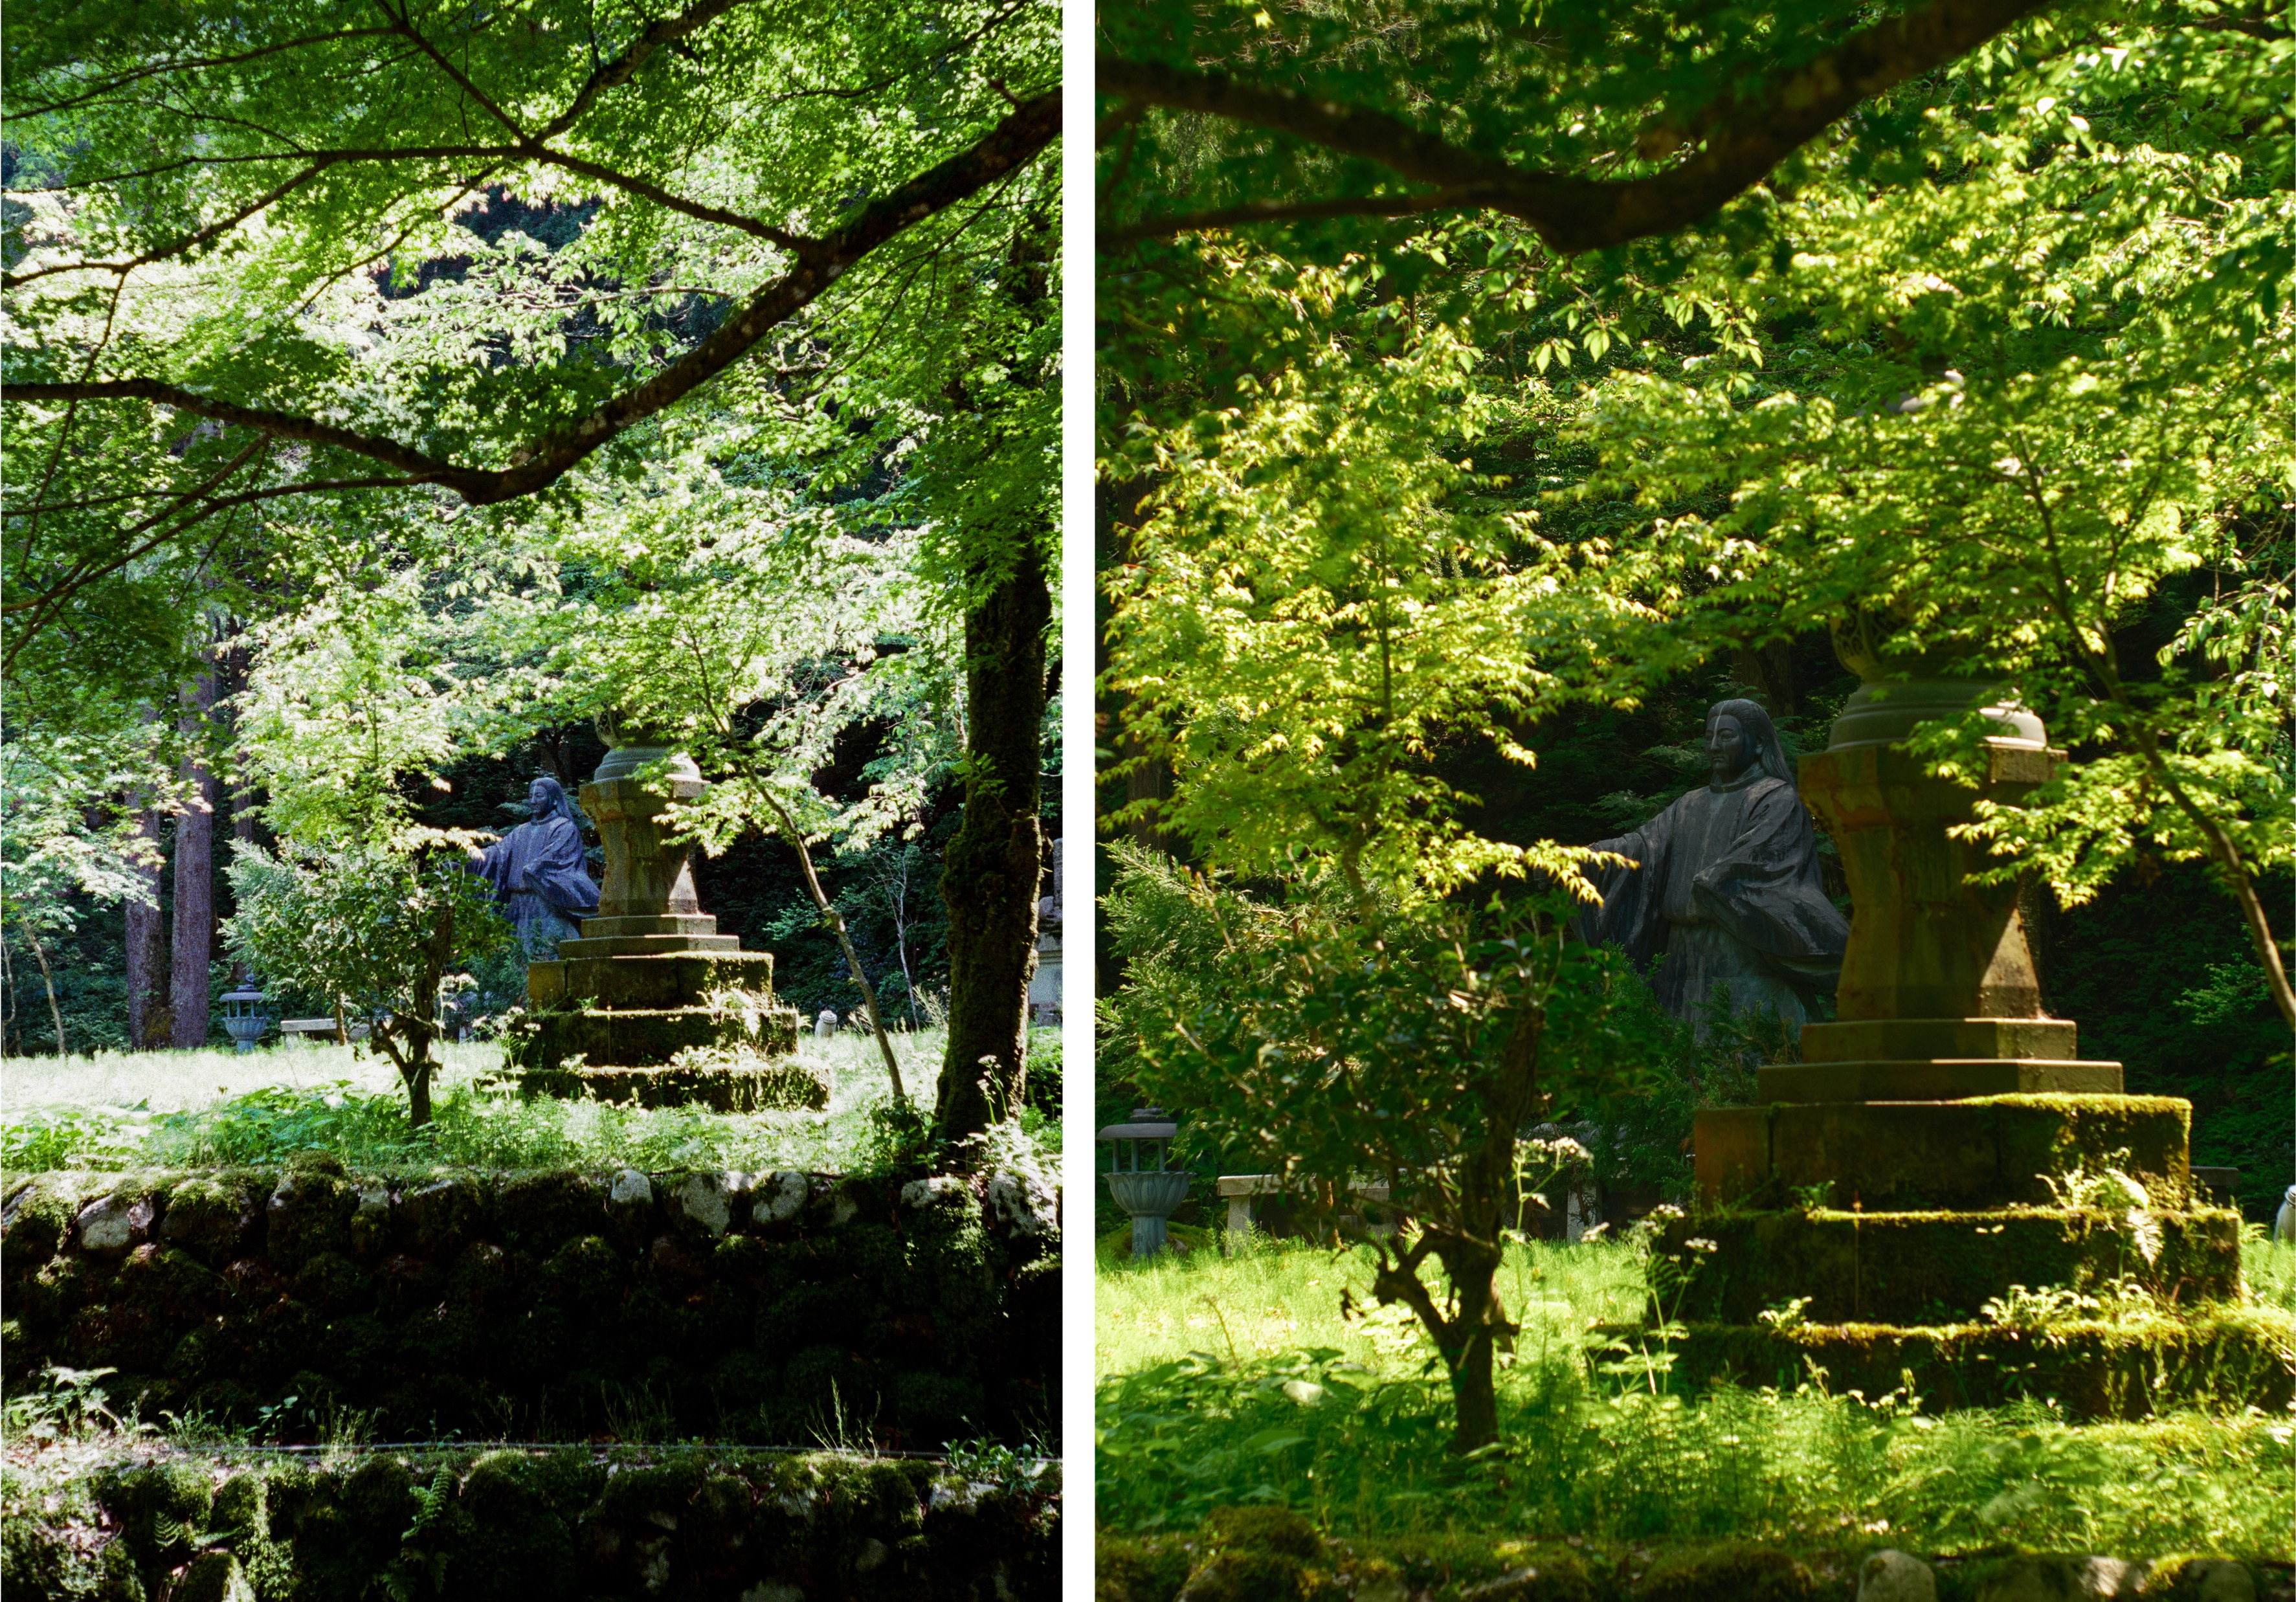
Kanazawa in Autumn. One of my very first photos in Japan.
📷 Canon Powershot G7X
The first camera. The G7X is a portable point-and-shoot digital camera, so it did not force me to learn much about the technical side of photography. I did not know how to meter properly, and I did not even understand the exposure triangle. Most of the time, the camera decided the shutter speed, aperture, and ISO by itself, while I only had to point it at something interesting and press the button. What I learned from that period was perspective and composition, mostly because the camera was small enough to carry around and use without much preparation. I could take it everywhere, try different angles, and slowly see how a scene changes with framing, distance, and timing. I also learned how to edit raw photos in Lightroom with it.
A M43 companion. I then bought a Lumix G100D as my next digital camera. This was the first time I had to think about lenses more seriously. The idea of fast and slow lenses with different focal lengths, or different zoom ranges, was strange to me at first, since the G7X boasted a fast 24-100mm (35mm) f/1.8-2.8 power zoom lens that can handle almost any situation. After a while of buying and selling, I now only own three fast manual primes (35/50/100 mm, f.f. equiv) and an all-in-one Lumix 12-60mm f/3.5-5.6. Being forced to live with a relatively slow lens that can only open up to f/3.5 actually made me learn to handle low light conditions, and feel the depth of field better.
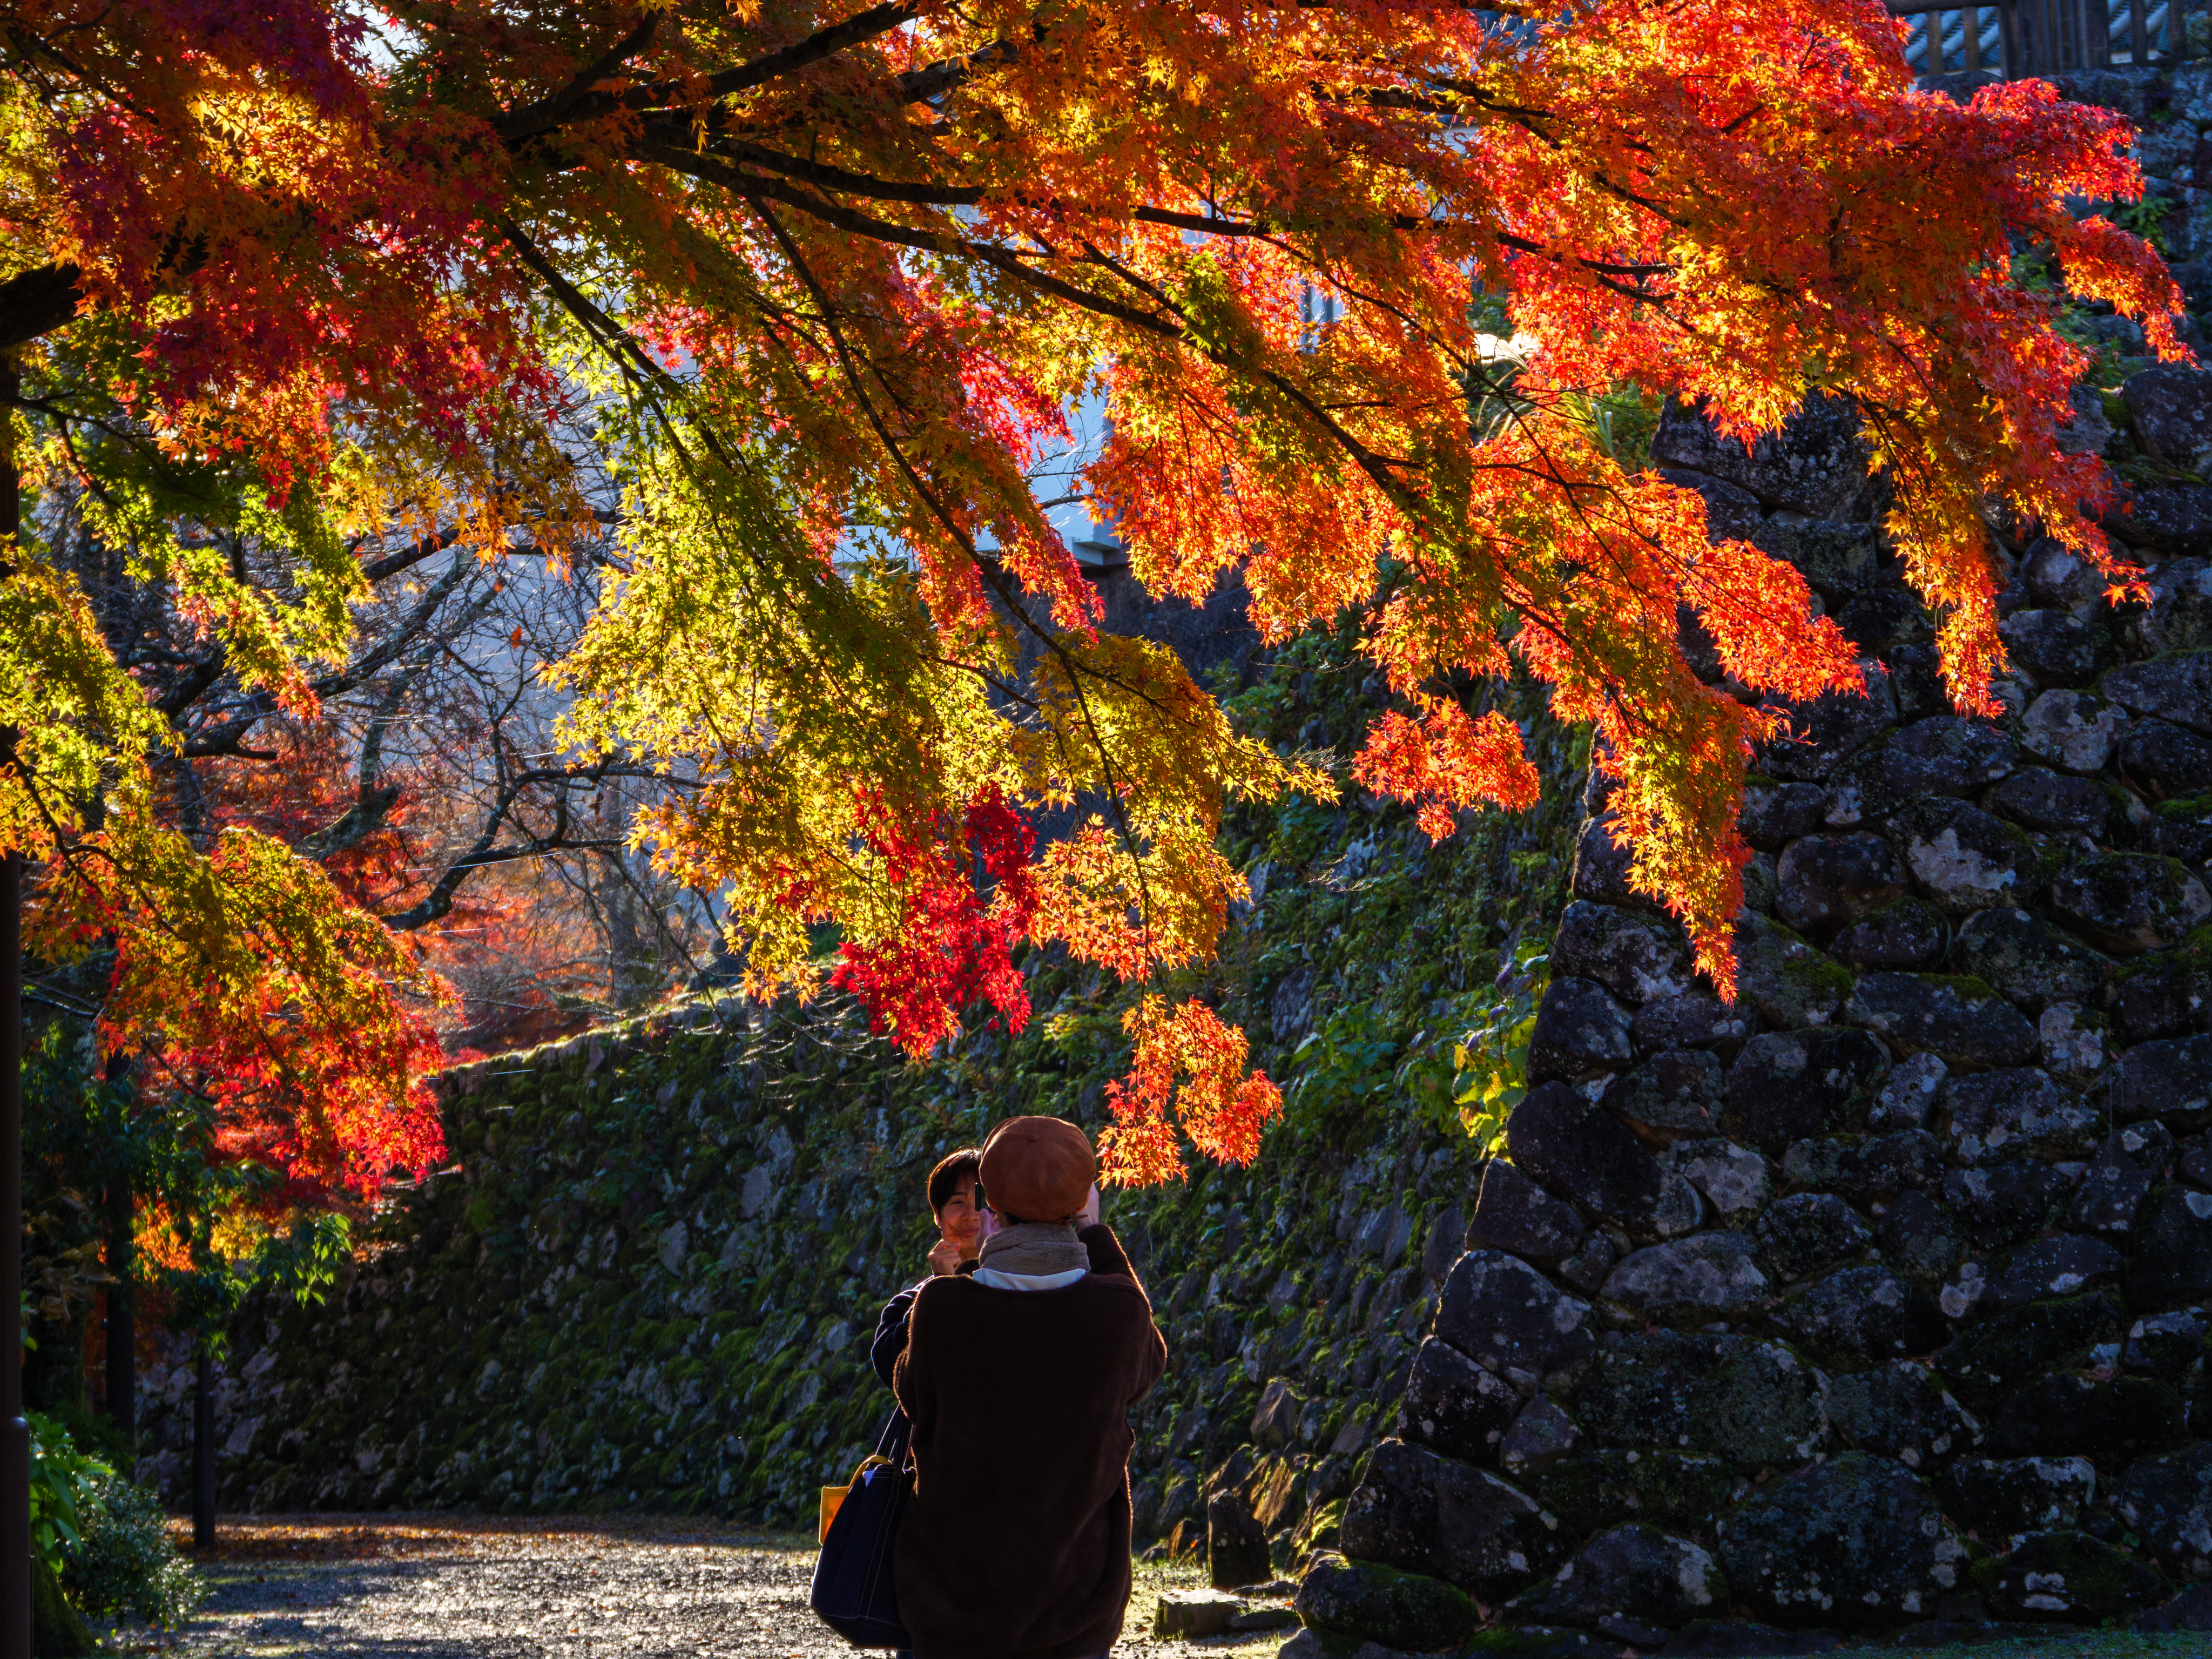
Ono Castle, Fukui. Taken one year after the previous photo
📷 Lumix G100D + Lumix 35-100mm f3.5-5.6
2. Why film
The first time I discovered that film photography is still well alive was from this video. From there, I fell into the rabbit hole, and discovered Humans of Film, a Vietnamese community of film photographers. Around April 2026, I decided to get into film photography myself.
My first film camera was the disposable Kodak camera. I did not expect much from it, but the colors felt magical when I got the scans back. The first image in this post was taken by that camera. After that, I bought my first real film body: the Canonet QL19 GIII, a full-frame camera. Recently I also bought an Olympus Pen D, which takes half-frame images.
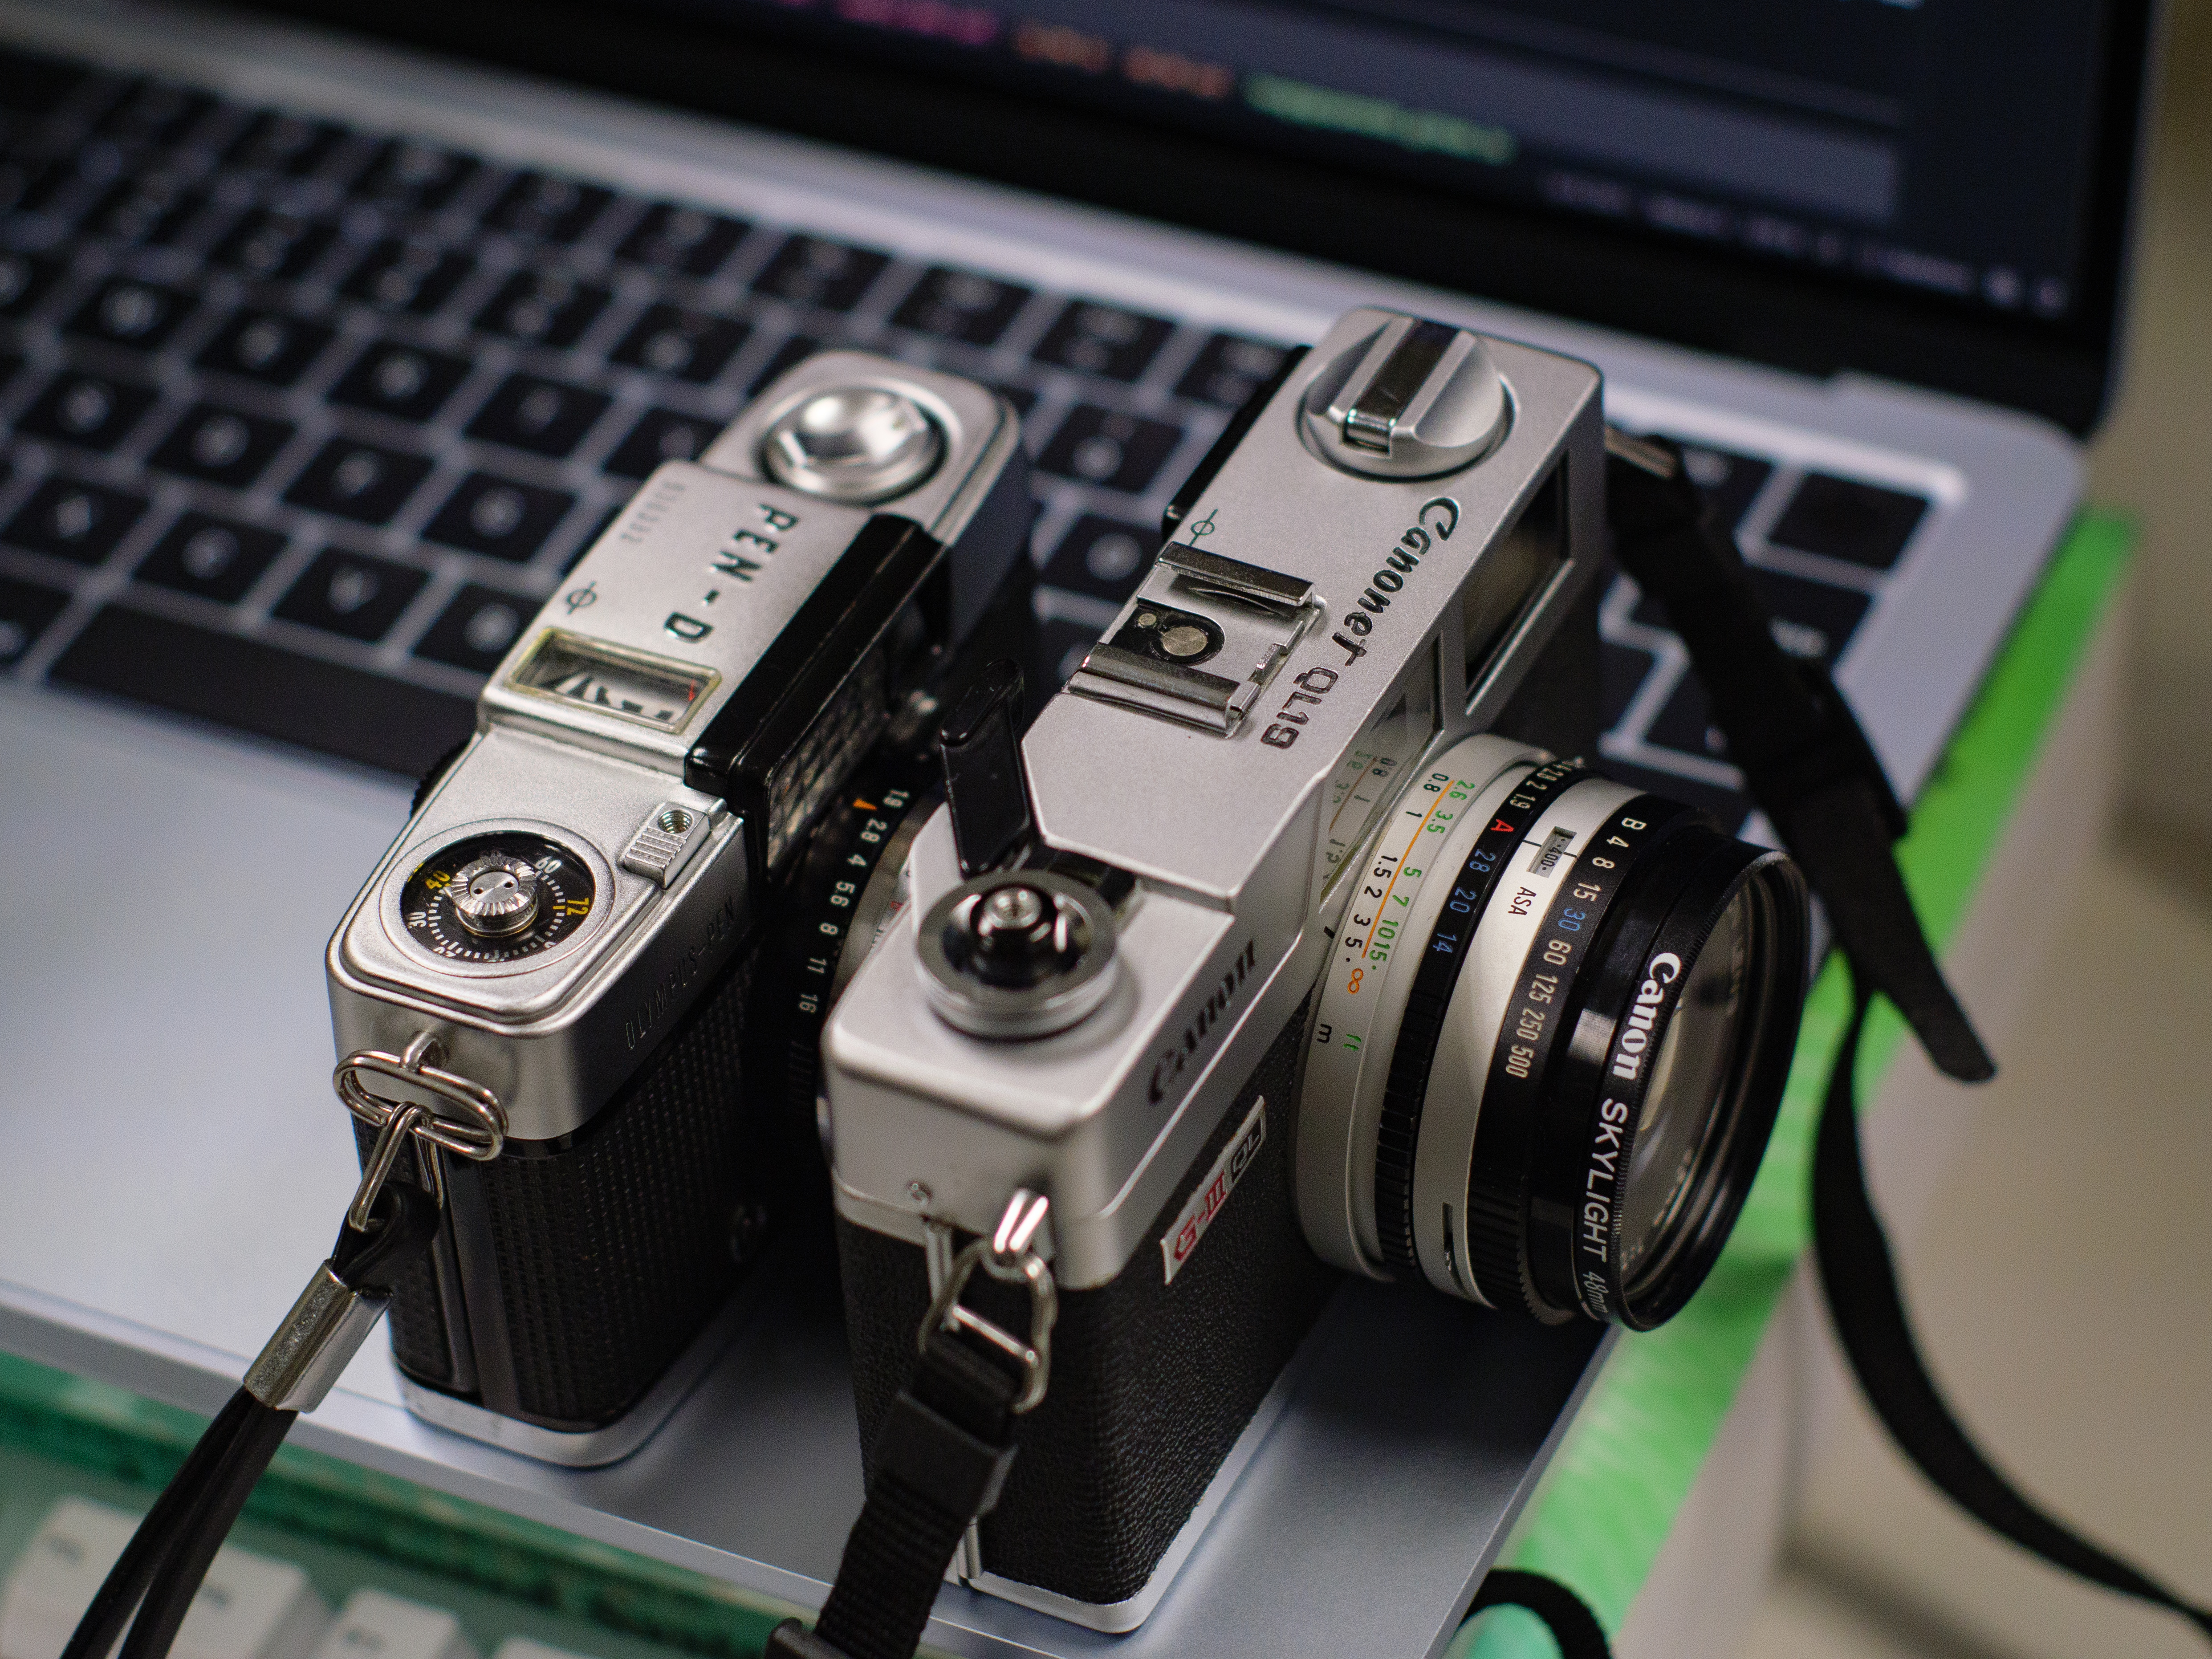
My two film cameras against the edge of a MacBook Air M4
Fujifilm-look. I wanted to get the Fujifilm look without spending money on all that expensive Fujifilm gear, so instead of buying a Fujifilm camera, I bought Fujifilm film and started taking real film.
Just joking. It is obviously not a direct substitute. You do not get instant preview, autofocus tracking, face detection, burst shooting, and most importantly, RAW files that can be pushed around freely later with film. Of course you can order TIFF scans (that is like ~100 MB per frame) that can be pushed around almost like with a digital image, but it’s not worth it for beginners. A modern digital image also has infinitely more resolution than a typical 6MP film scan. Of course, the cost over the years can add up, but it’d take around 10 years of taking film at the rate of 1 roll per month to reach the price of a Fujifilm X-T5 kit.

Somewhere in Nagoya. 📷 Canonet QL19 GIII + Kodak Gold 200
It is fun. All of the above are simply part of the fun. Sometimes it takes a month before I can see the photos from a trip, simply because I have not finished the roll yet. Mail-in development also costs both shipping and time, so it makes more sense to batch several rolls and send them together.
Vintage lens. If you go with an SLR (the film counterpart of, DSLRs), you also gonna have a collection of full-frame vintage lens that can be easily adapted to any modern crop sensor format. One lens, two different purposes. All of my film bodies are fixed lens compact cameras, though.
3. Film is just different
Learning the real photography. With digital photography, it is easy to take 400 photos and only keep the most usable 100 photos. Metering looks too bright? Go down half a stop. Still does not look right? Go down a full stop. You basically get free experimentation with digital, but it also makes me less careful before pressing the shutter. With film, every frame has a direct cost 💸, and the roll has to be developed before you can see the result.
With film, since my camera is fully mechanical, I do not even need to turn it on. But after pressing the shutter, the image is only stored chemically on the film. I also do not get to see how the image would look in the end. The roll has to be developed, then scanned into a digital file before I can see it on my computer. The camera also does not give me modern assistance such as autofocus. It does meter for me, which I will explain later, but I’d rather shoot manual rather than relying on a primitive light meter from the 70s in 2026. Every shot needs to be planned more carefully, and I cannot afford the disposable volume like when taking with digital.
This difference sounds obvious, but the habit from digital photography is hard to move away from. Sometimes I move from a bright to a dark scene and take a picture as-is, without adjusting the exposure. This will make it underexpose and cost another frame.
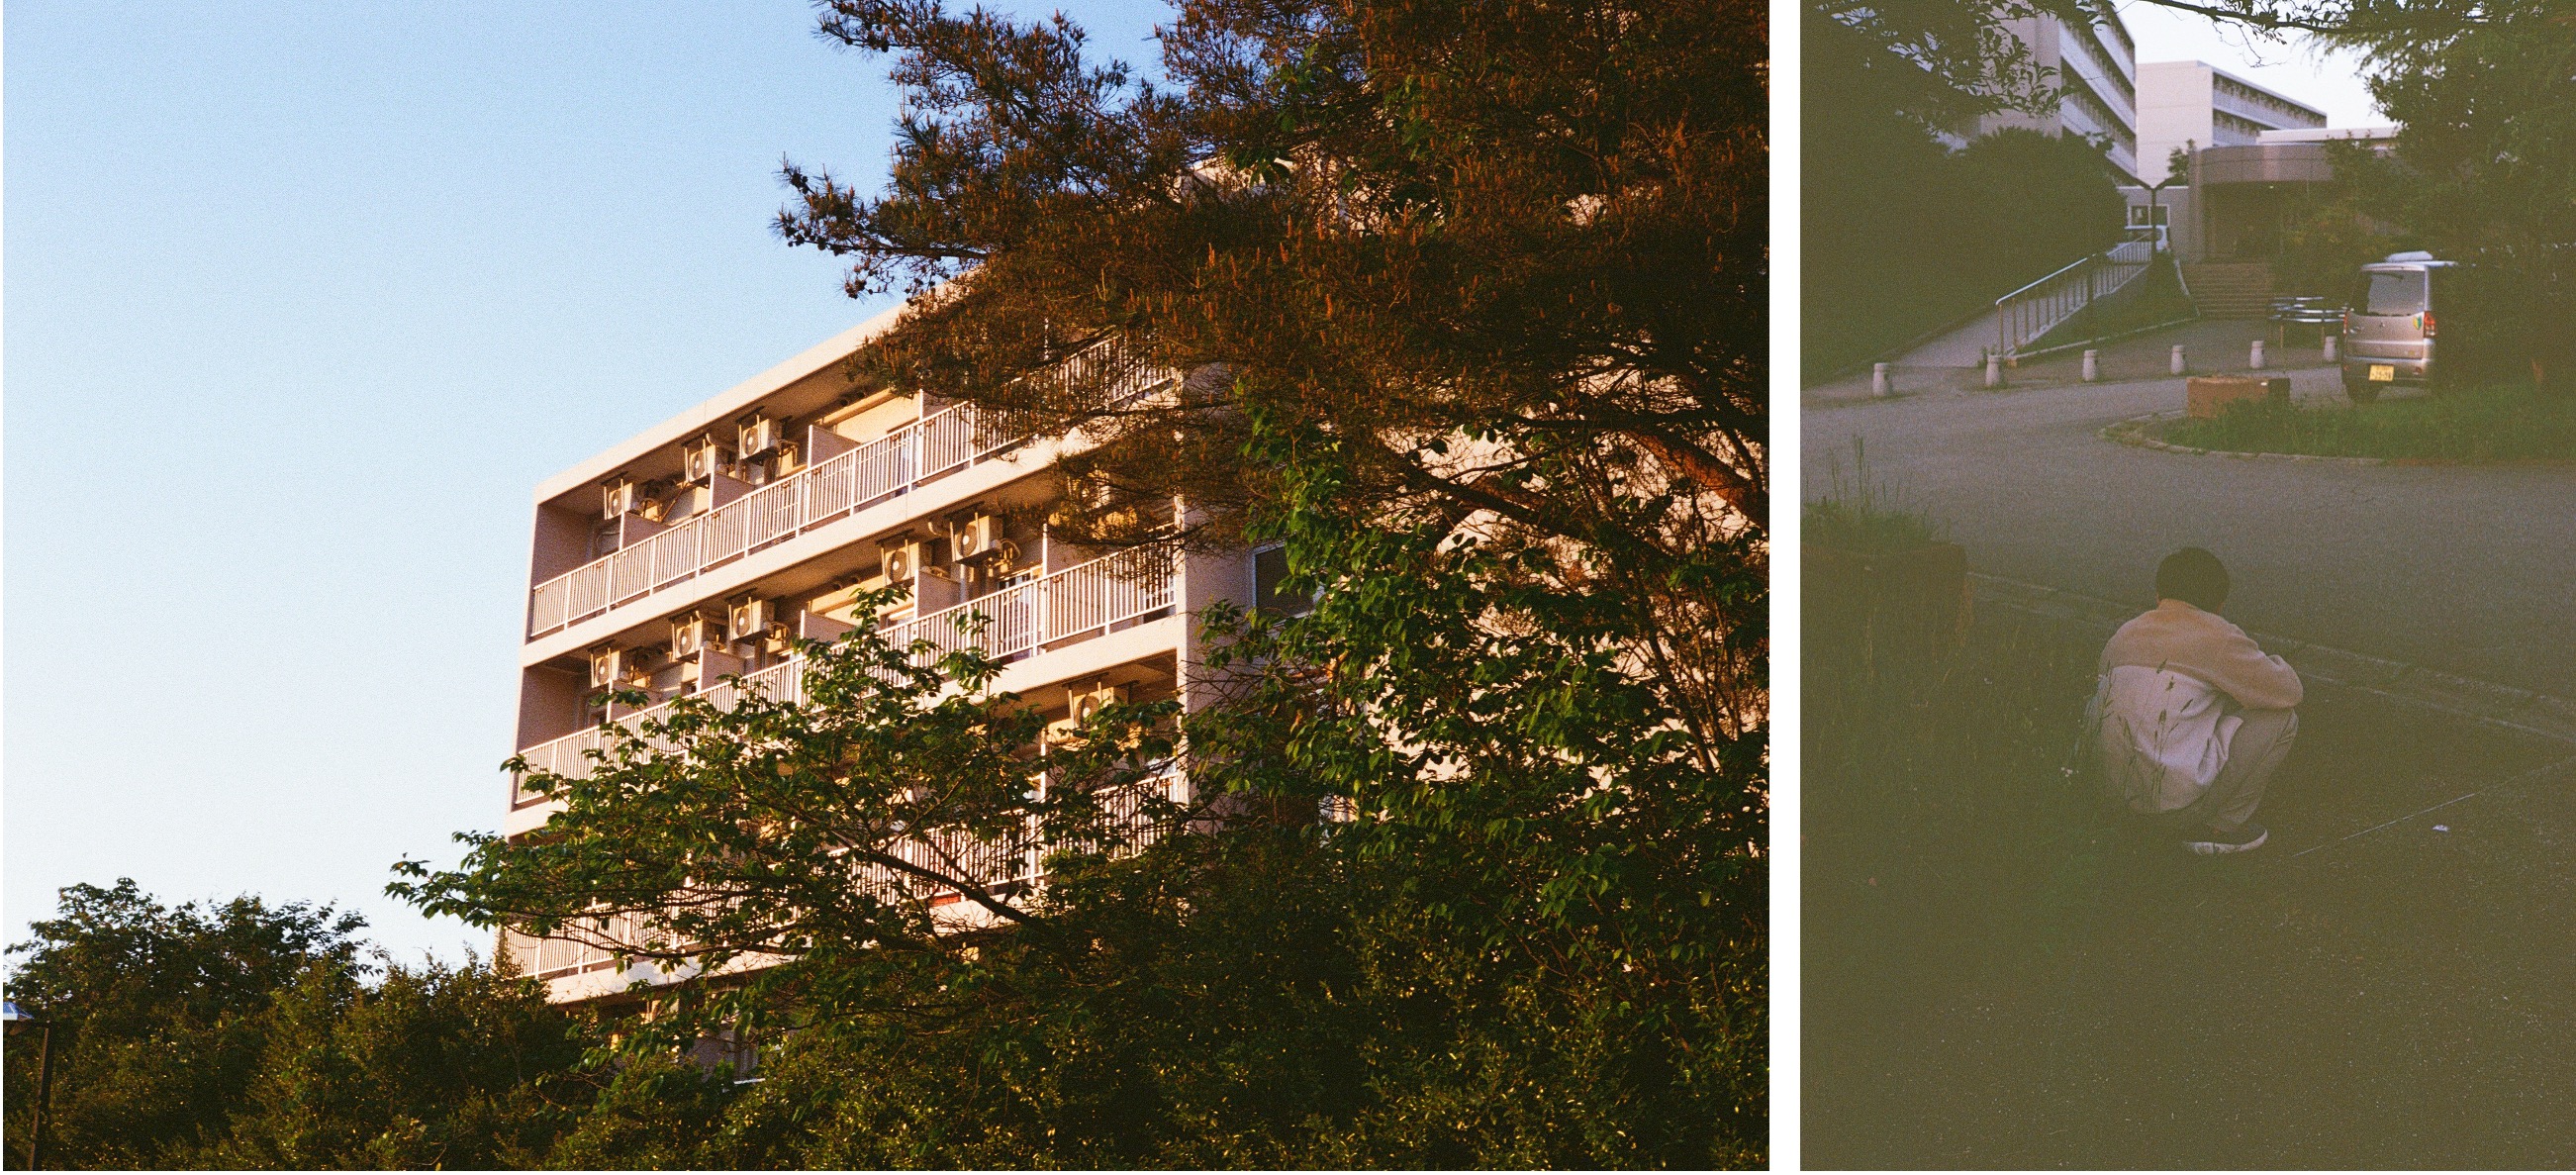
Underexposed film on the right. With correct exposure, it should look like the image on the left.
📷 Canonet QL19 GIII + Ultramax 400
4. Pitfalls
Film scans. There is also one more step hidden behind the final image. Film is analog, but most of film photos nowadays are often viewed and stored as digital files. In the old times, film was intended to be printed onto photographic paper and stored in an album book. I bet most families have this. Developing and scanning it into a digital file requires working with a film lab.
Now, when you send a roll to a lab, the lab develops the film, scans the negative, color corrects it, and returns the digitized images. The scanner, the scanning software, and the operator all affect the result. You have no direct control over this, and the person who operates the scanner has no idea how you want the image to look. I am not entirely sure, but for a typical lab scanning setup, it would probably look like this.
The film image on the left looks bright and washed out because of how it was scanned and corrected by the lab. The image on the right is from my digital setup, and it is closer to what I intended when taking the shot.
Another option is to scan your film at home using a digital camera. It might sound weird to simply photograph your negatives and then edit them in Lightroom like any other digital image, but this setup is popular, works well and gives you a lot of control over how your final photo looks.
The cost of film scanning.
| Option | Film | Develop + scan | Shipping | Turnaround | Total | Cost per frame |
|---|---|---|---|---|---|---|
| Local lab in Kanazawa | ¥2,100 | ¥1,900 | - | 1 or 2 hours | ¥4,000 | ~¥111 |
| Online lab | ¥2,100 | ¥600 | ¥180 | About one week | ¥2,880 | ~¥80 |
Even with the cheaper online option, a 36 exposure roll still comes out to around ¥80 per frame, so retaking the same scene because I forgot to adjust the exposure is not just a harmless retry anymore.
Manual focus. While more modern film bodies from the 90s and early 2000s are equipped with autofocus like their digital counterparts, more vintage cameras are mostly manual. My Canonet is a rangefinder with a unique focusing method. It feels unintuitive at first coming from digital, but it’s easy to get used to. The Pen D, however, has no focus-assist mechanism. How do you measure focus? You just guess and pray.
No image stabilization. This is true for most affordable film setups. Some relatively recent SLR film bodies from the 90s onwards can use modern OIS lenses, but cheap compact cameras usually have no stabilization at all. Even many older professional bodies do not help with camera shake, so slow shutter speeds are much less forgiving than what you are used to on digital.
A shaky image at 1/60s hand-held.
📷 Canonet QL19 GIII + Kodak Gold 200
You might be shooting with a camera that’s over 50 years old. This can both be a plus and a minus. Old film cameras can feel magical because they still work after decades, but they can also fail quietly, since you cannot see what you just took. A small mechanical problem can waste a roll before you notice anything. Before trusting an old body, it is worth testing the shutter, advance lever, rewind behavior, light seals, and meter as much as possible.
I currently own two film bodies: a Canon Canonet QL19 GIII (1972), which is a 35mm full-frame camera, and an Olympus Pen D (1962), which takes half-frame pictures. Both are in pristine condition.
My first Pen D looked usable, but the shutter only fired on half of the frames, which would have made every other frame black. A roll that should have produced 72 exposures would only give me 36 usable images. I managed to return and get another copy, but this time with a dead light meter. The Canonet QL19 GIII works fine in manual mode, but its light meter is no longer accurate, so using it as a point-and-shoot camera is not reliable anymore. In one of my trips with this camera, I did not insert the film properly and I basically took blank images for that whole trip.
5. More about the bodies
Wait what’s a light meter? How can a camera from 1972 be used as a point-and-shoot camera while being almost entirely mechanical?
On the Canonet QL19 GIII, the light meter is a battery-powered CdS cell coupled to the exposure system. All the parts for taking a picture–film advance, shutter, aperture ring, focusing, and rewind–are mechanical, and also the autoexposure system.
The Canonet uses shutter-priority auto exposure. You set the film speed (ISO, called ASA back then) and shutter speed, put the aperture ring on A, and the camera chooses the aperture based on the meter reading. The viewfinder shows a needle against an aperture scale, with overexposure and underexposure warnings. If the meter is still accurate, this is enough to use the camera almost like a point-and-shoot camera. All within a 100% mechanical body. My copy still fires properly in manual mode, but the meter is no longer reliable.
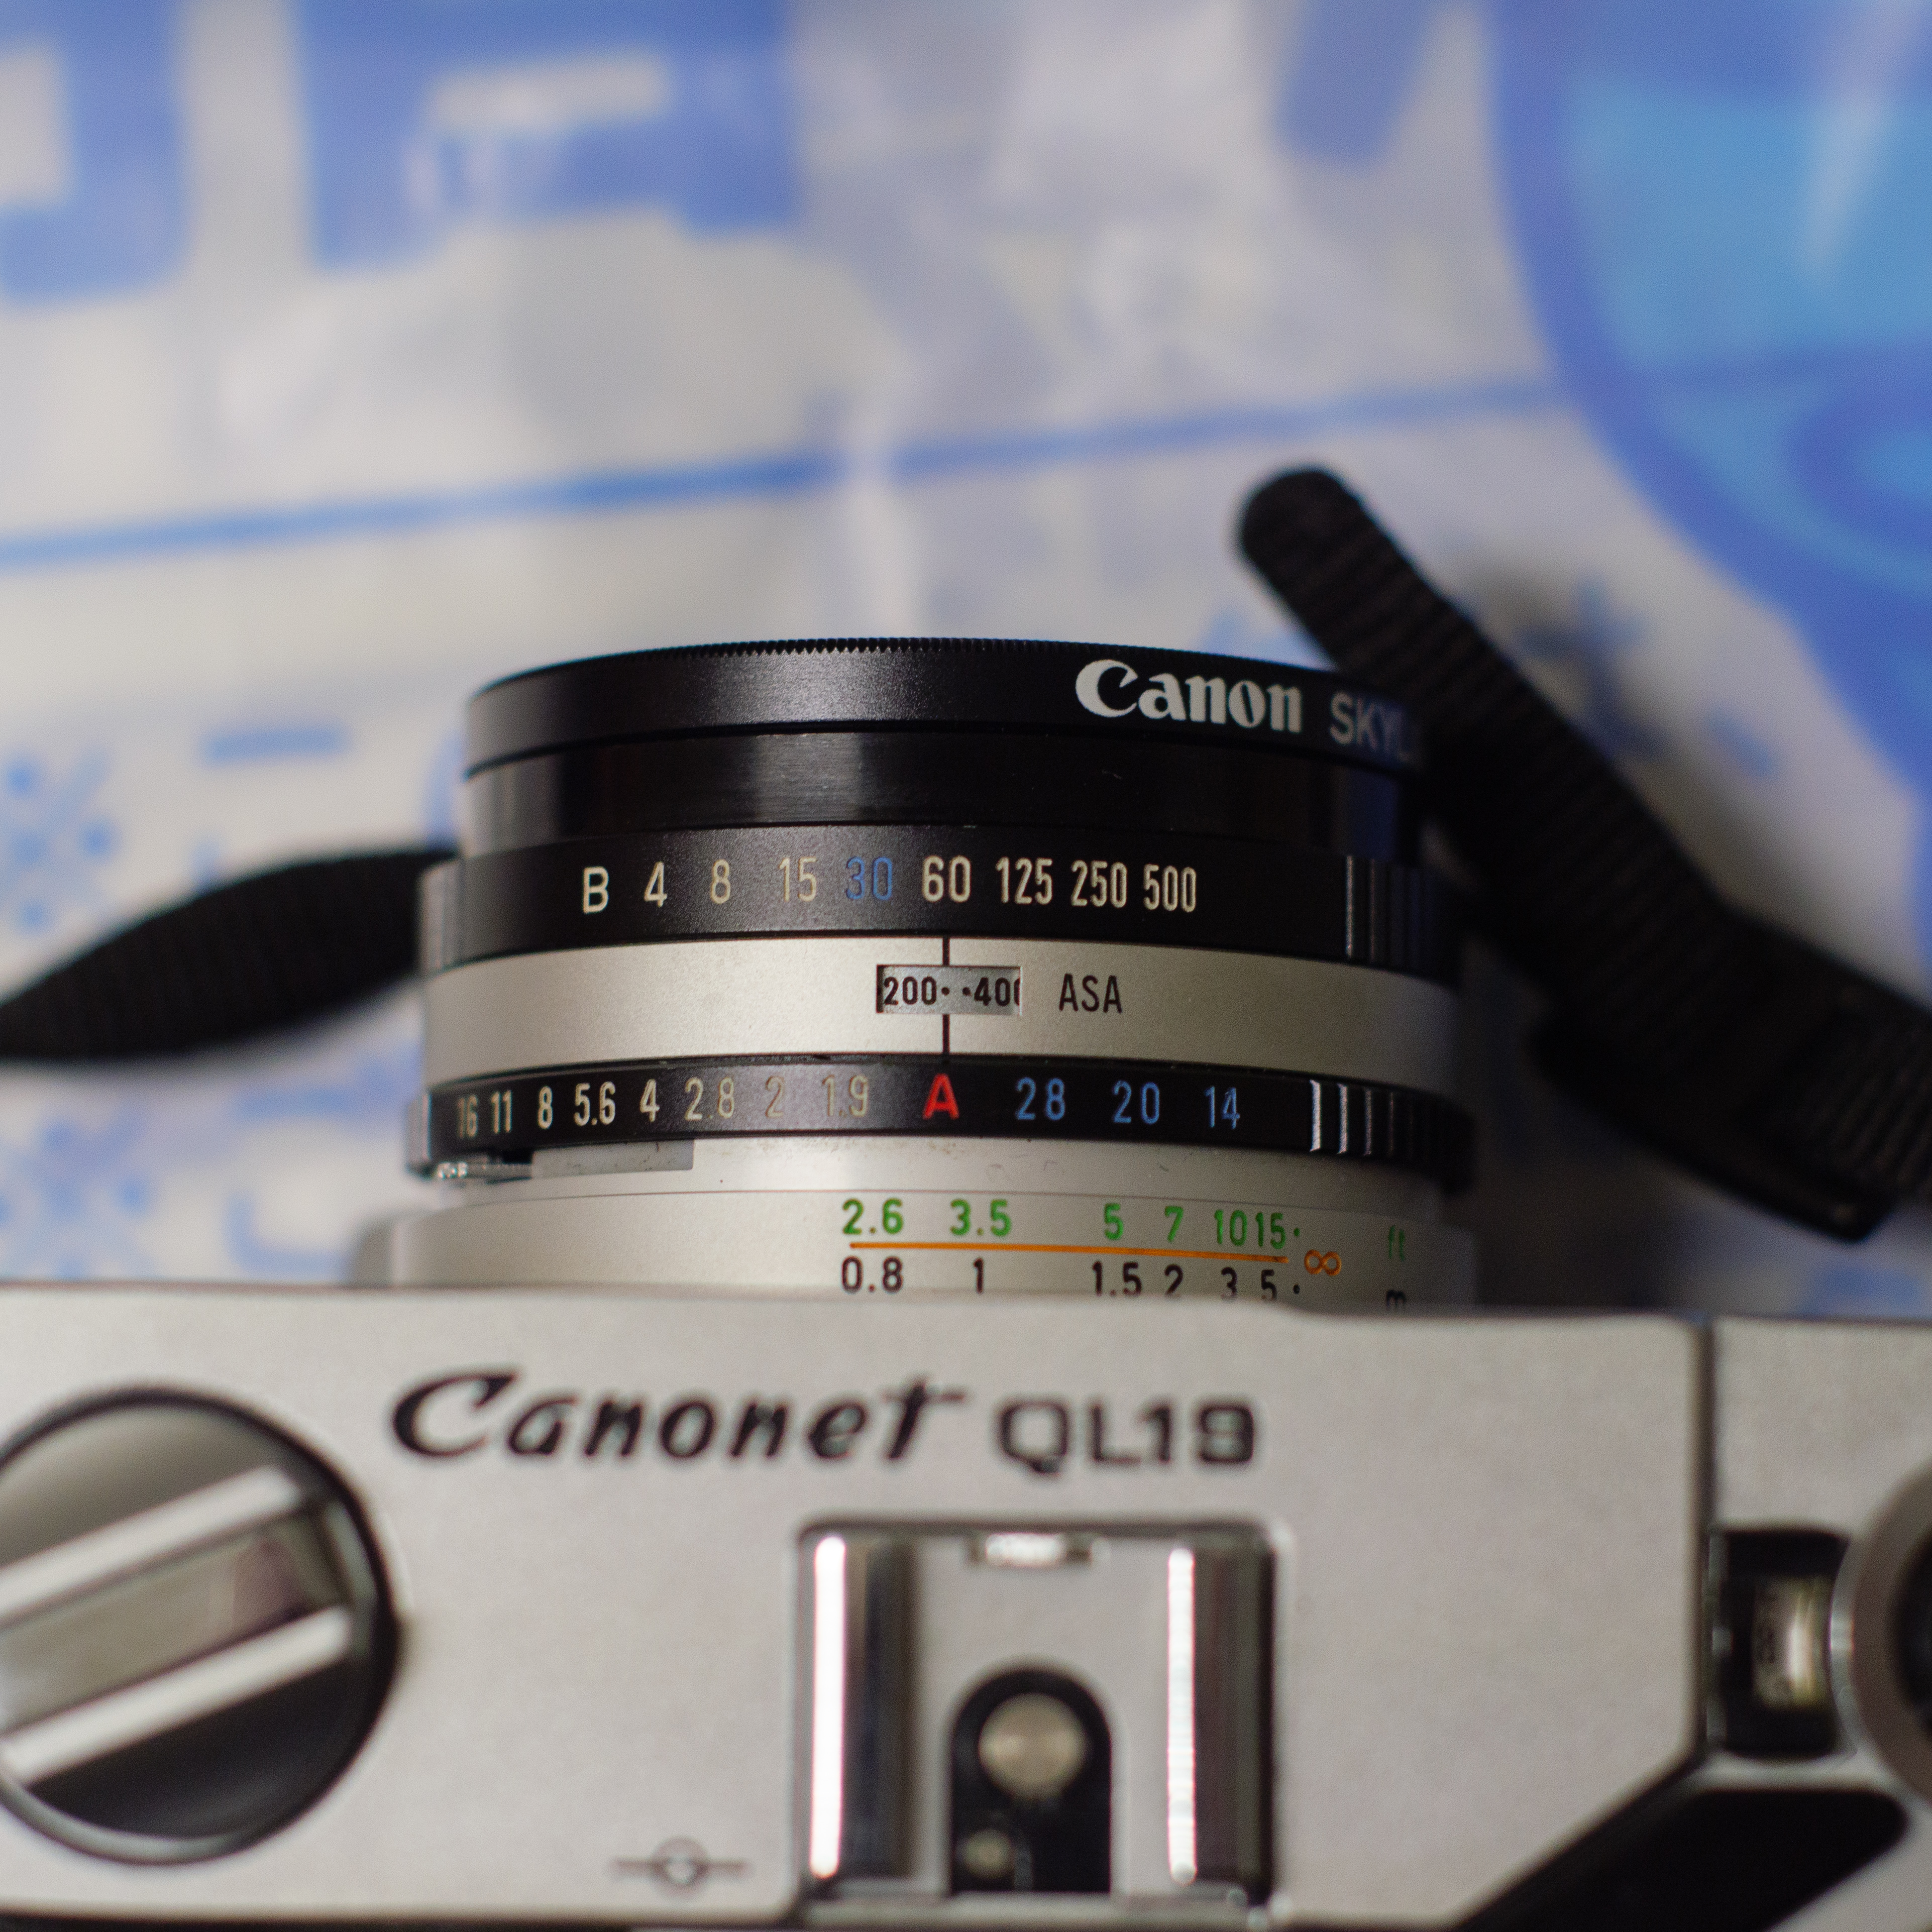
The aperture ring on the Canonet. Setting it to A puts it into shutter speed priority mode, where it automatically chooses the correct aperture for the given shutter speed. Setting into any other location puts it into manual mode
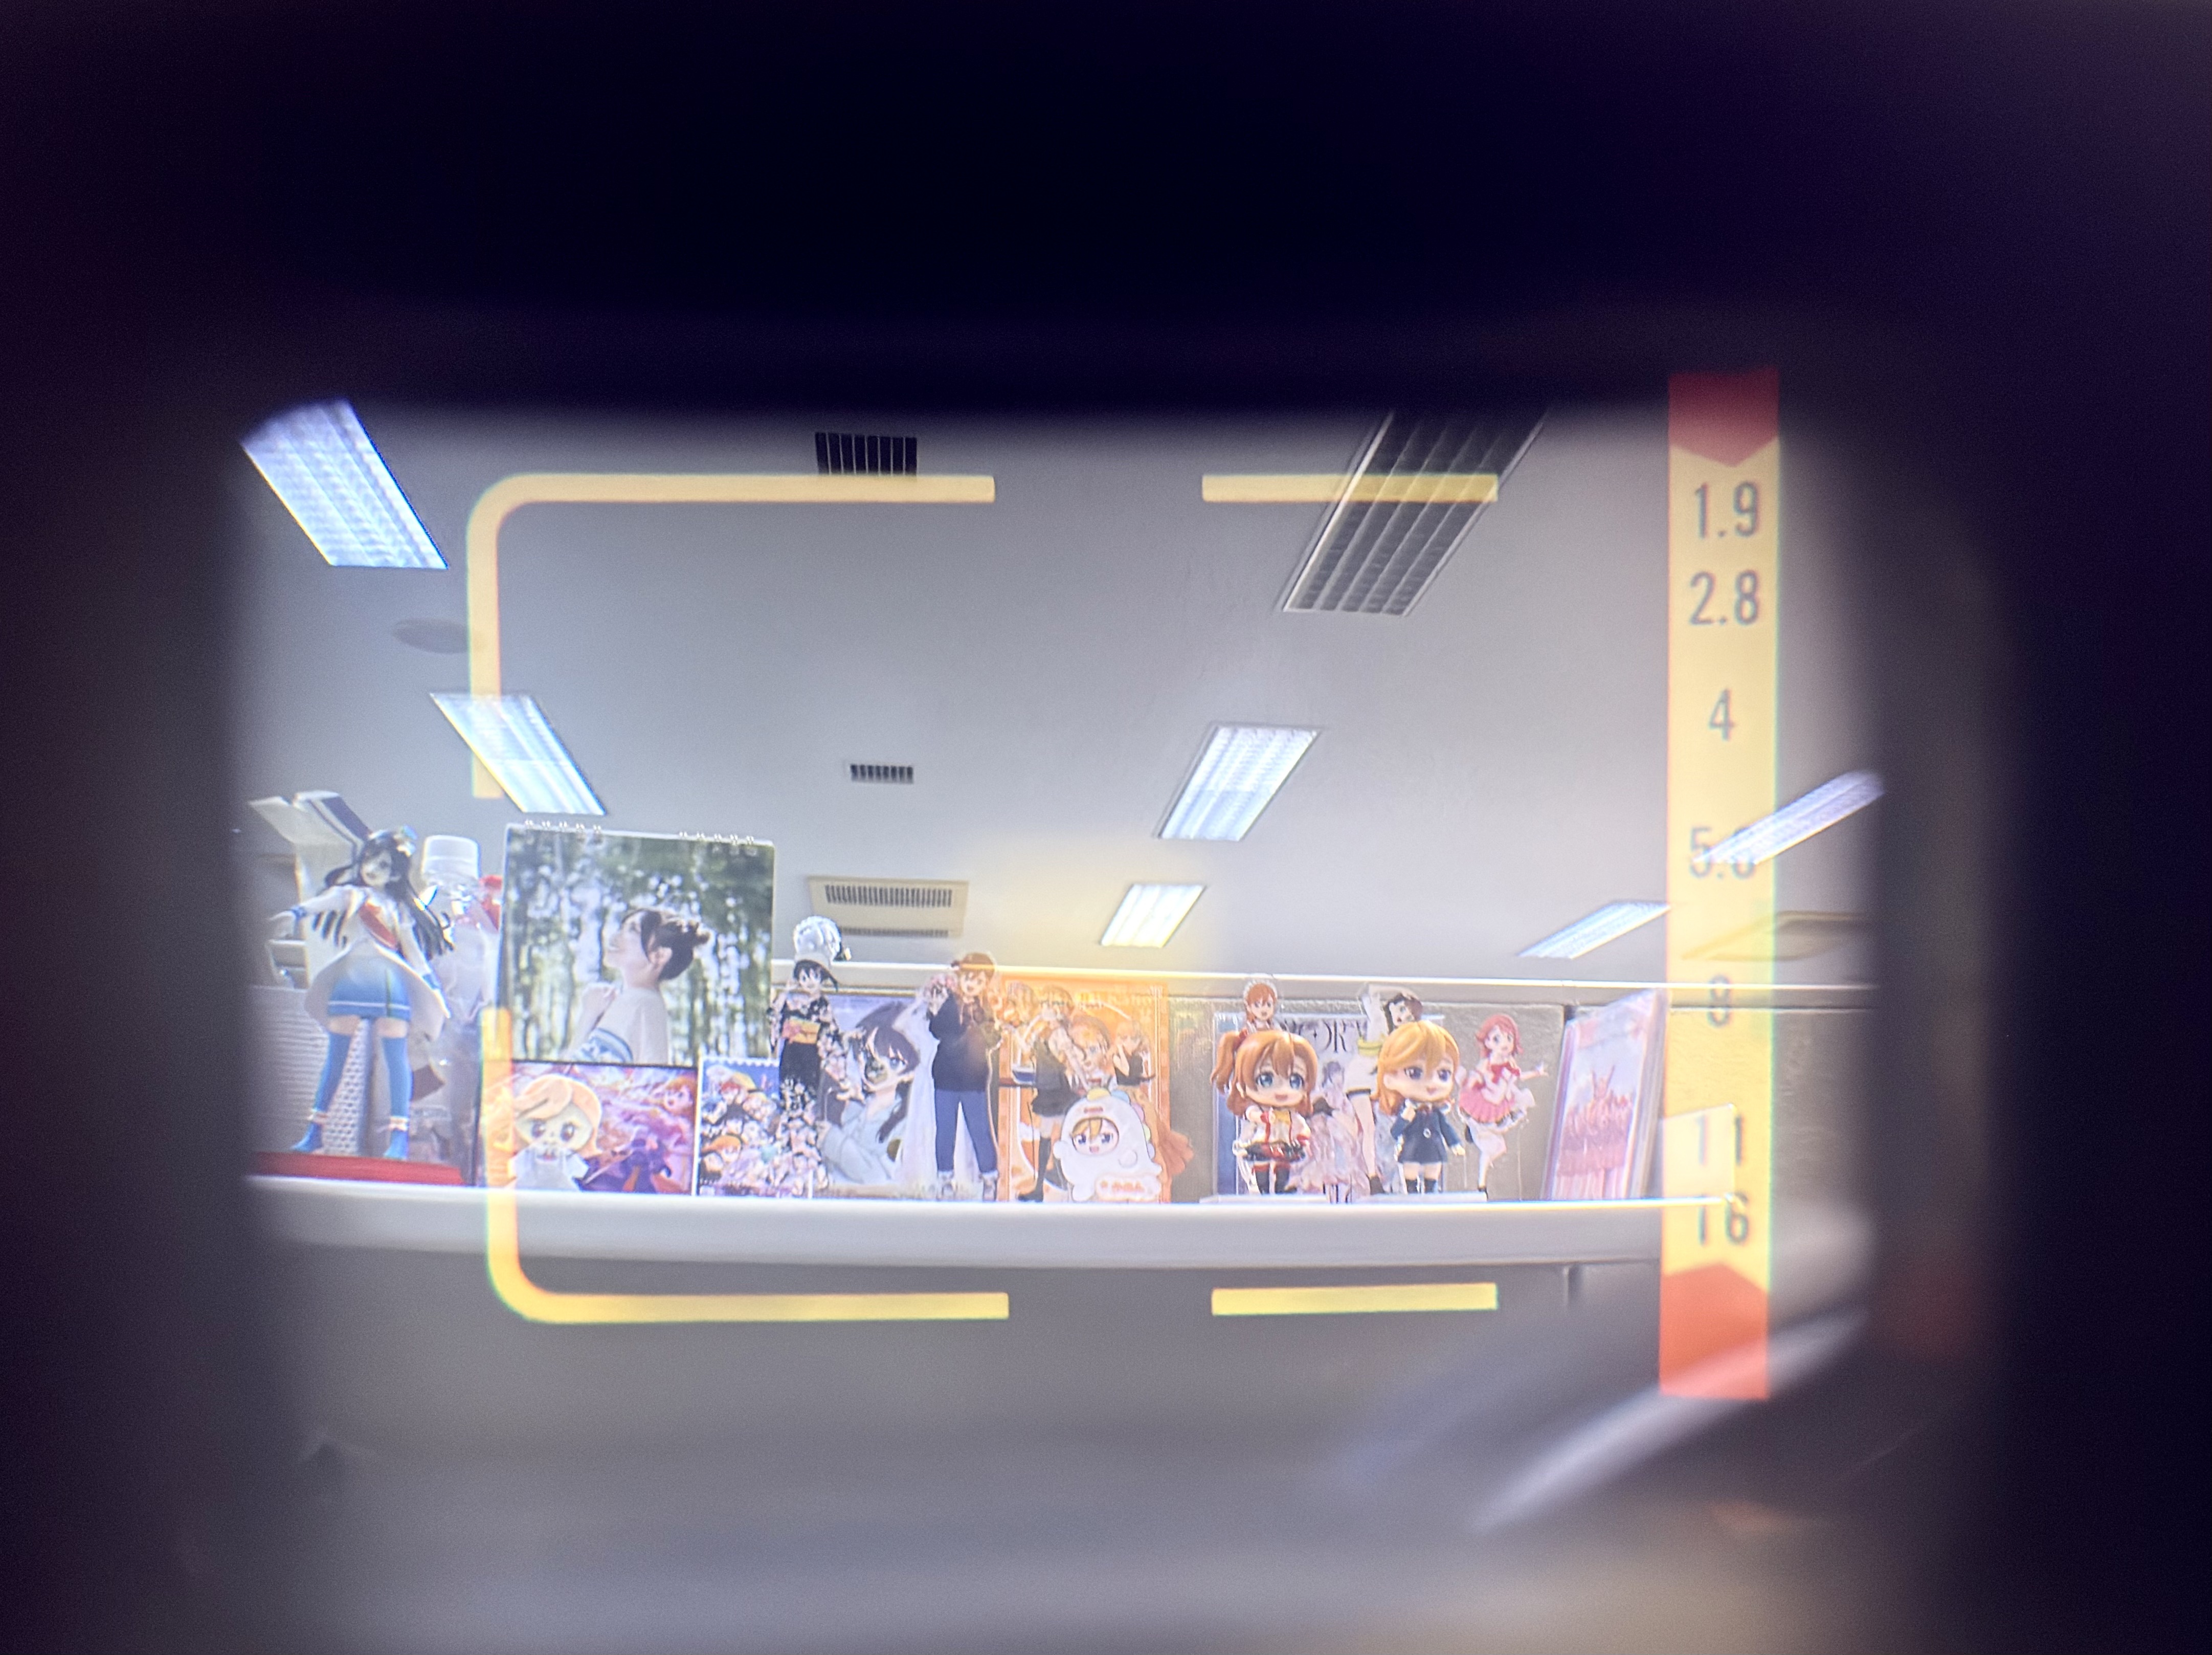
Inside the rangefinder of the Canonet. The needle on the right moves as you point the camera to different lighting conditions. Currently it is choosing f/8. In manual mode the needle stays at the top.
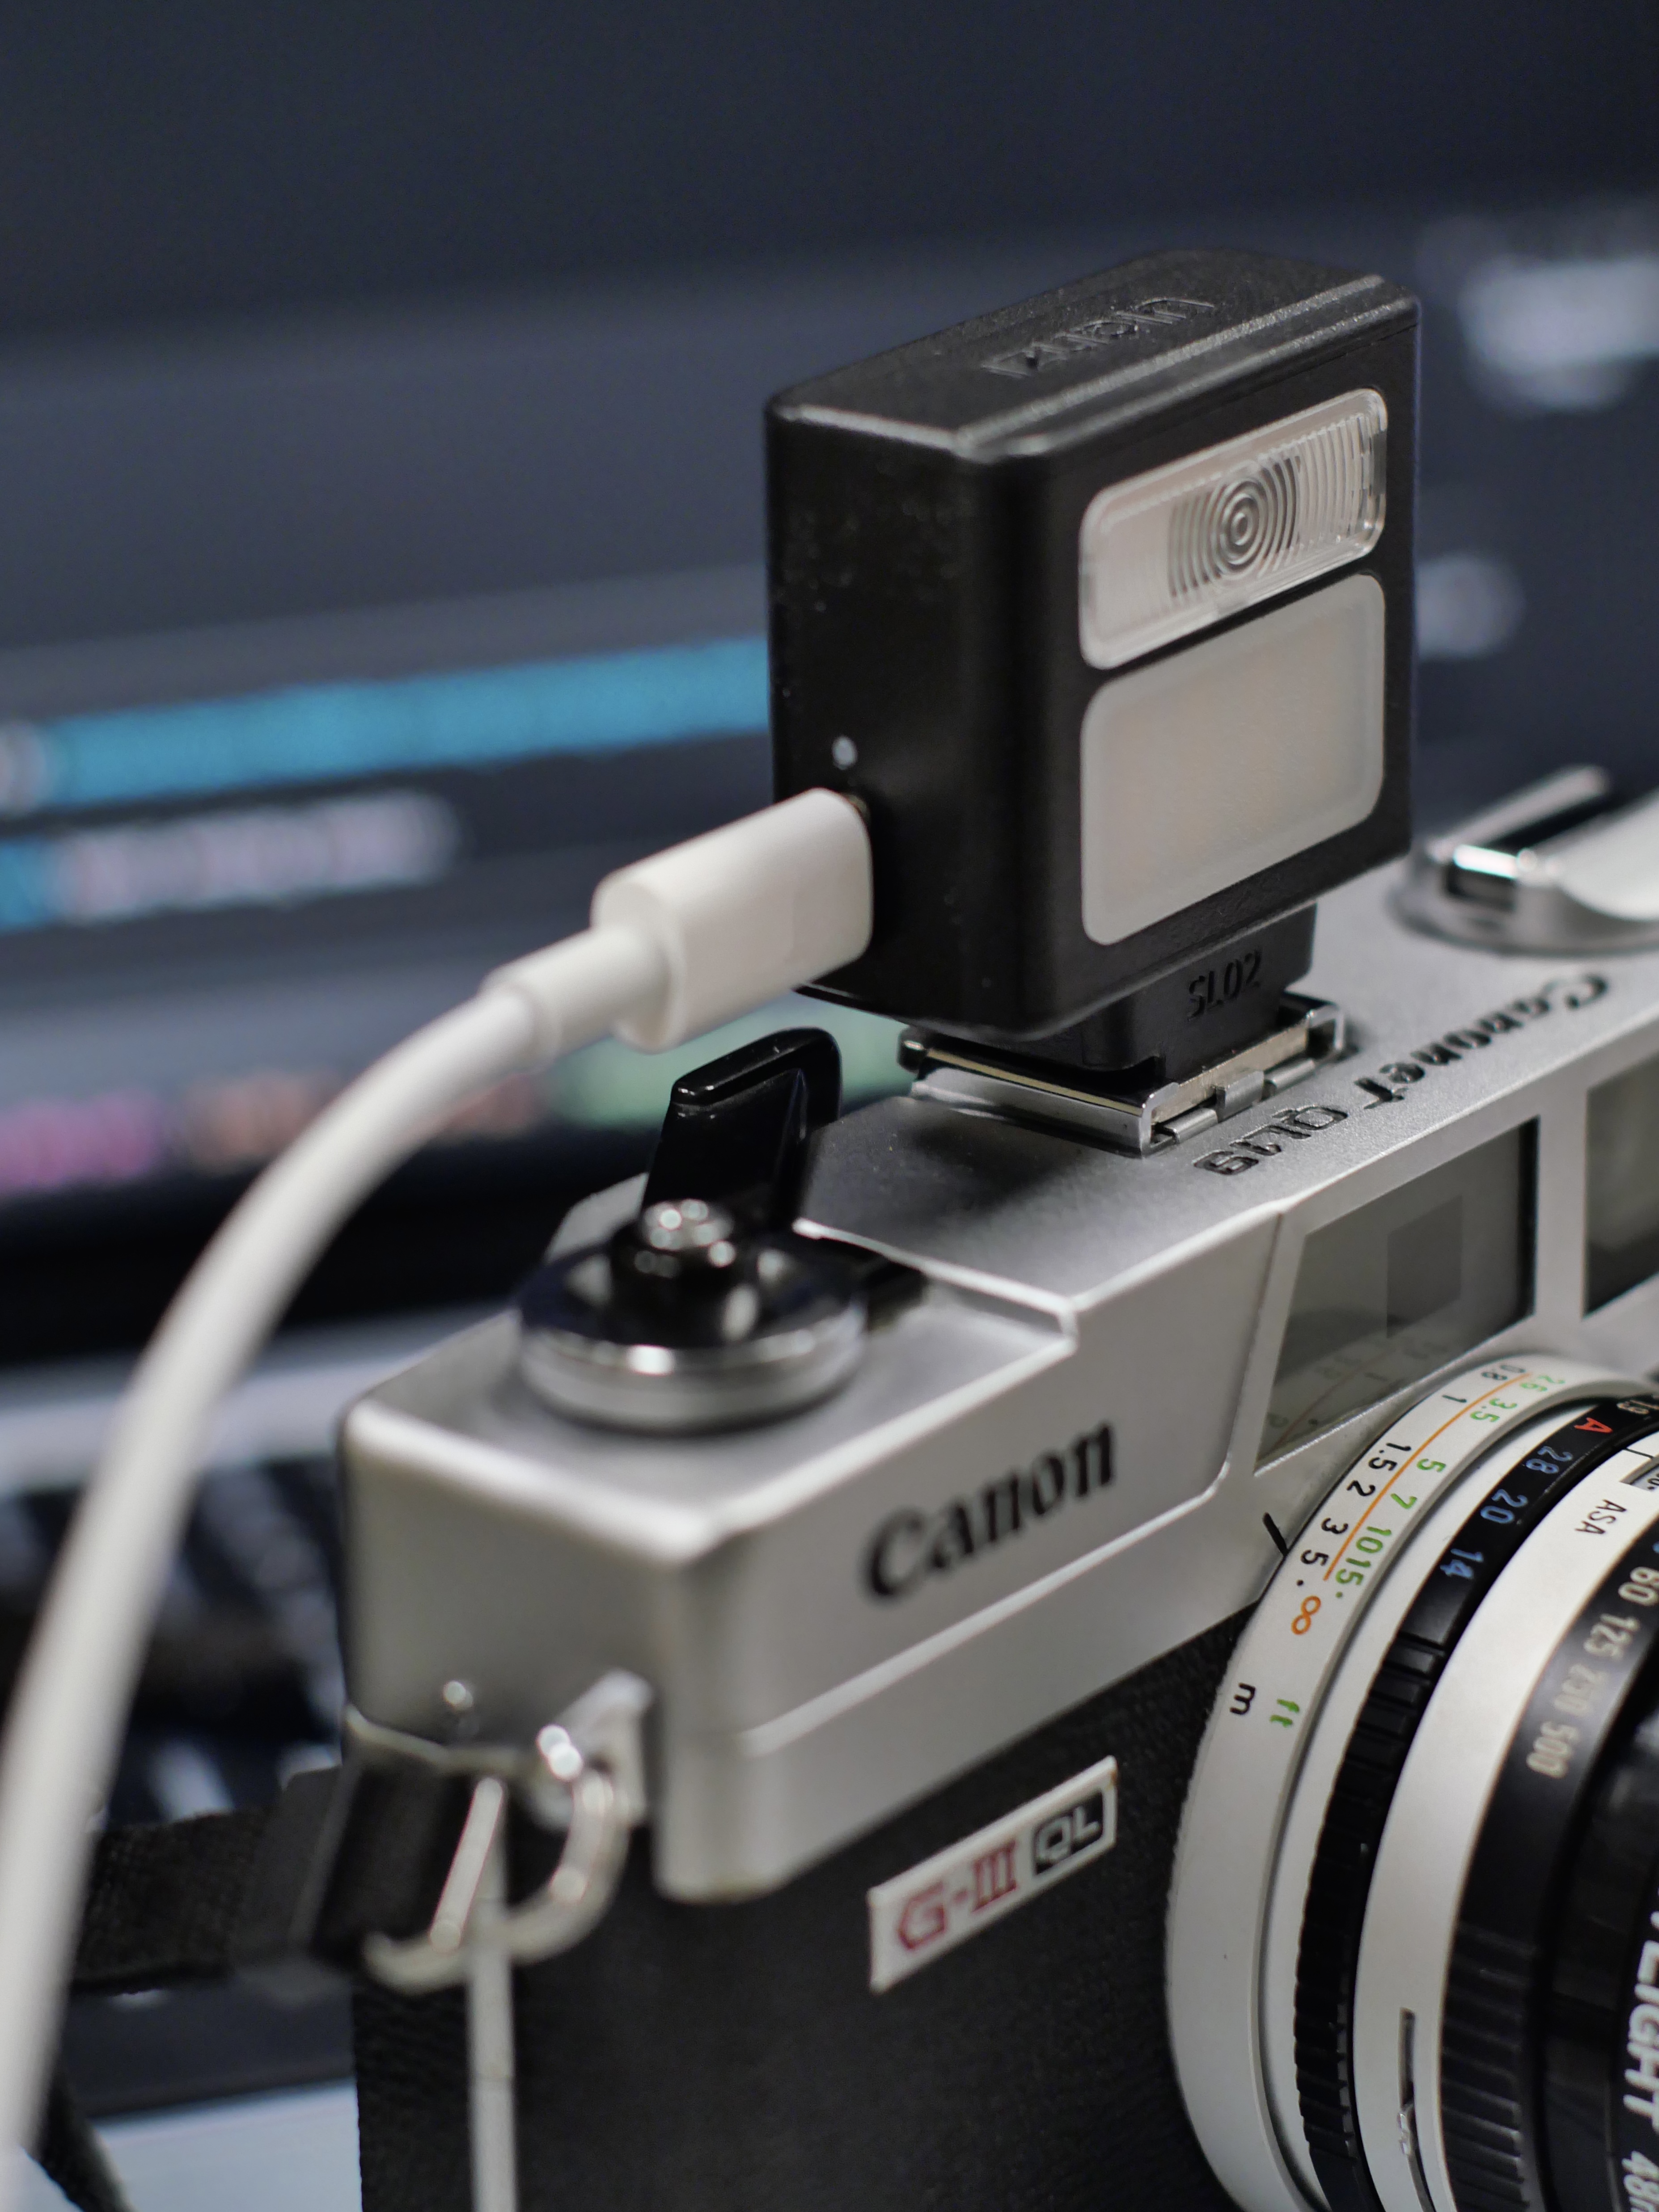
A USB-C charged electronic flash on a Canonet QL19 GIII from the 70s. This setup works.